5-Ingredient Vanilla Creme Brûlée


There is nothing quite like the satisfying crack of a perfectly torched creme brûlée. Your spoon digs through that thin caramelized layer then gives way to a thick, silky vanilla custard underneath. What makes it work is simpler than it looks: five ingredients, a water bath that does most of the heavy lifting, and real vanilla—no whole vanilla beans required. I promise this is one of the most repeatable desserts you will ever make.

An Elegant Dessert You Can Actually Make at Home
Creme brûlée is a classic baked French custard that is elegant enough for a dinner party, but repeatable enough for an average Tuesday. It’s the kind of dessert that earns its spotlight at the table, whether it’s the finishing touch for a holiday dinner or an indulgent treat enjoyed on the couch in pajamas.
I will be honest: the first few times I made it, there was a learning curve. Unevenly baked custards, over-torched tops, and the disappointment of trying to serve creme brulees that were bruleed in advance (sorry about that one J&L!). What it taught me is that each step matters. Once I learned that, it became foolproof.
This vanilla version is the foundation for all of my flavored creme brûlée variations. Once you have it down, the variations are endless — I have a lemon creme brûlée, a strawberry creme brûlée, and a holiday eggnog version if you want to branch out.
What You’ll Need
Five ingredients: white granulated sugar, egg yolks, a good vanilla (either extract or bean paste), heavy cream, and whole milk. The cream carries the richness while the milk keeps it from being too dense. The ratio is important and the fat is necessary to achieve the iconic rich, creamy results.
Featured Ingredient: Vanilla Extract or Bean Paste
The rich flavor of this vanilla creme brûlée comes from real vanilla, no whole vanilla bean pods required. Vanilla extract is the most pantry-friendly option and works beautifully in this recipe. If you want a slightly more intense vanilla flavor and those signature dark flecks, vanilla bean paste is the upgrade worth making. Keep in mind that the flecks will settle to the bottom of your custard cups, so don’t be surprised to find them beneath the custard when you dig in.
How to Make Vanilla Creme Brûlée
The active work here is minimal. Pay closest attention to tempering the egg yolks and the water bath. Those are where most creme brûlées go sideways.
- Prepare the ramekins. Preheat the oven to 300ºF, adjust the oven rack to the center, and begin boiling water for the water bath. Place the ramekins into a baking dish. I like to use a 9″x9″ square baking pan.


Do I Really Need a Water Bath?
Yes! A water bath is essential to achieving the perfect texture in your creme brûlée, as it increases the moisture level in the oven. This helps prevent the custard from drying out and cracking.
Creating a water bath for single-serve creme brûlée is simple. Place the ramekins in a metal cake pan and boil some water. I recommend using a tea kettle so it’s easier to pour the hot water. Unless you’re using an instant hot electric kettle, put the water on to boil when you begin the recipe.
Then, once the crème brûlées are assembled, pour the water into the pan around them. Be sure not to pour any into the custard itself.
Using a Kitchen Torch to Brûlée Crème Brûlée
A kitchen torch is the right tool for this job. While the broiler setting on your oven is the most common alternative, in practice it gives you no control over where the heat lands, producing uneven results, like leaving raw sugar next to burnt patches. A torch, on the other hand, lets you move the flame deliberately across the surface, caramelizing evenly without scorching. An inexpensive torch runs about $15 and is worth every penny. If you don’t have one yet, this is the one I use.
If this is your first time using a kitchen torch to brûlée your creme brûlée, here are a few tips for a perfectly crystallized topping.
- Use plenty of white granulated sugar. The granulated sugar is what caramelizes to create that delightful top layer. Spread a thin, even layer across the top of each custard.
- Constantly move the flame. You’ll want to keep the flame moving across the sugar as holding it in one spot can lead to excessive burning. While brulee means to burn, what we really want to do is caramelize.
- Hold the flame close. The flame should touch the dessert, as it takes a concentrated heat to melt the sugar.
- Don’t put the torch down. While most kitchen torches automatically turn off, many also have a switch that overrides this. Ensure that you turn the torch off before putting it down, as it’s a huge fire hazard.
- Don’t worry about perfection. The first few times you do this it won’t be flawless and that’s okay! The flavor will still be there.

Tips for Success
This five-ingredient creme brûlée is forgiving once you know where it goes wrong and it almost always goes wrong in the same places. These are the places where I tend to still make mistakes, especially when working too quickly.
- Temper the egg yolks slowly. Adding the hot cream too quickly is the most common mistake. Go a quarter cup at a time, whisking constantly — the goal is to bring the eggs up to temperature gradually so you get custard, not scrambled eggs.
- Always strain the mixture. Even with careful tempering, small bits of cooked egg can end up in the custard. Run it through a mesh strainer before dividing into the ramekins.
- Brûlée just before serving. The caramelized top loses its crunch quickly. Do it at the table if you can.
- Use more sugar for a thicker crack. A thin layer gives you a delicate top; a slightly thicker one gives you that satisfying resistance when you break through.

How to Store
Creme brûlée is one of the best make-ahead desserts you can put on a dinner party menu. Baked custards keep in the fridge for up to three days, making them a day ahead takes the stress out of dinner timing, and the extra chill time genuinely improves the flavor. Hold off on brûléeing the tops until just before you serve them, as the sugar loses its crunch quickly. Skip the plastic wrap; a sealable container does the same job with less waste.
They also freeze well for up to two months. Instead of cutting down the number of servings I always make a full batch of these. My husband and I each get one and the rest go in the freezer with lids on, so that we can enjoy them later with much less effort. Thaw them in the fridge only. The microwave or sitting out on the counter will compromise the texture.

5-Ingredient Vanilla Creme Brûlée
Ingredients
Custard
- 1/4 cup white sugar
- 4 egg yolks
- 1 teaspoon vanilla extract or vanilla bean paste
- 1 1/2 cups heavy whipping cream
- 1/2 cup whole milk
Crème Brûlée Topping
- 5 tablespoons white sugar – divided
Instructions
- Heat oven to 300ºF. Boil water for the water bath, preferably in a tea kettle for easy pouring. Place four 6-oz custard cups or ramekins into a 8×8 or 9×9 square pan.
- Separate egg yolks from the whites, reserving the whites for another recipe.
- Whisk together white sugar and egg yolks in a medium sized bowl until it lightens in color and takes on a thick, creamy texture. Add the vanilla and whisk to combine.
- Heat cream and milk over medium heat until bubbles start to form at the edge and the cream gets hot. Stir occasionally and do not let it boil. About 5 minutes.
- Temper the egg yolks by slowly adding about 1/4 cup of the hot milk and cream into the egg yolk mixture, while whisking constantly. Once incorporated repeat with another 1/4 cup of the milk and cream. Then add the custard mixture back into the saucepan with the remaining milk and cream. Whisk to combine completely. Adding the hot cream too quickly to the egg yolks will result in scrambled eggs.
- Strain mixture, preferably into a large measuring cup with a pour spout. Discard any lumps of cooked egg from the strainer.
- Divide the custard mixture equally between the custard cups. Create the water bath by pouring the boiling water into the pan until it's half way up the side of the custard cups. Careful not to pour water into the custard.
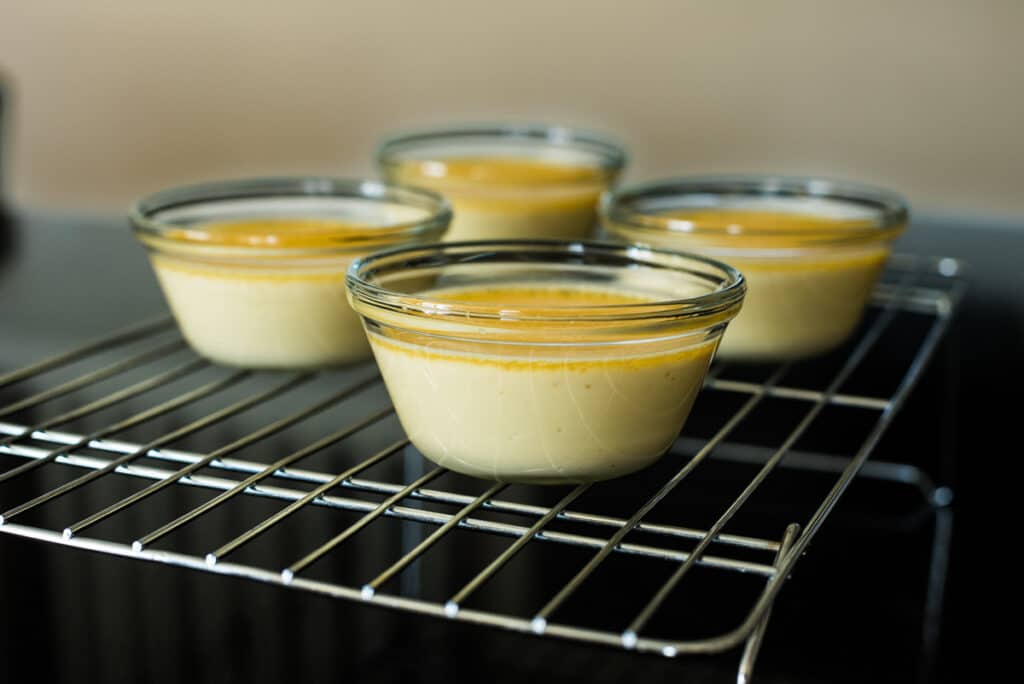
- Bake in the water bath for 30 – 35 minutes or until centers are set. To test lightly jiggle the pan. The centers should jiggle like jello.
- Remove from the water bath as soon as you can safely handle them, to stop the cooking process. Cool to room temperature then refrigerate for a minimum of three hours.
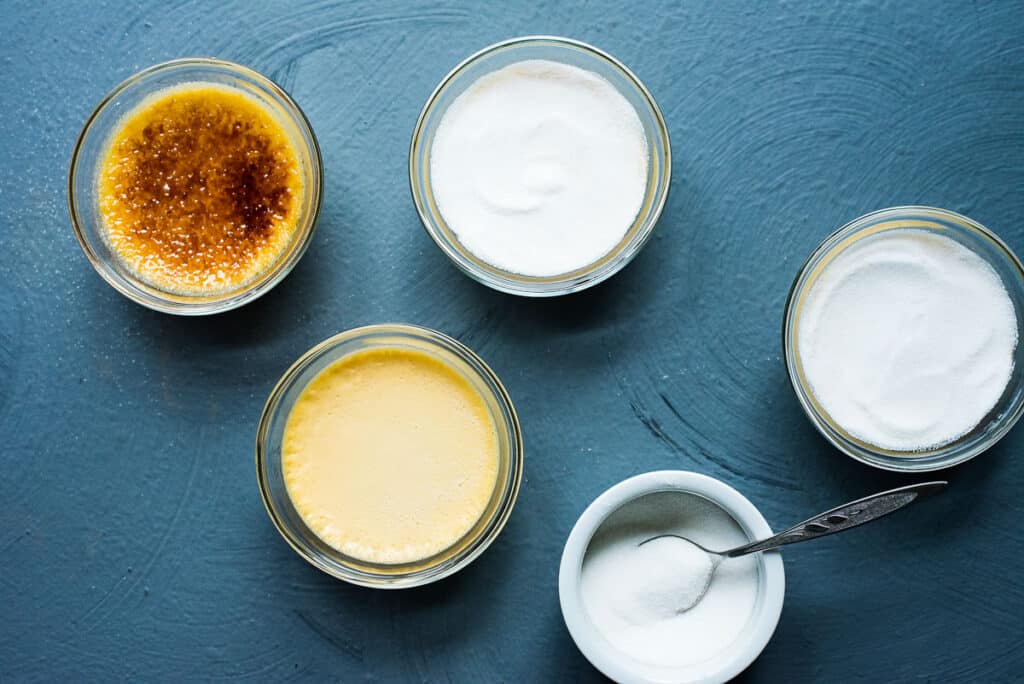
- Cover each custard with 1 1/2 teaspoons of white sugar, adjusting for ramekin width if needed. Brulee the tops with a kitchen torch until the sugar is caramelized. Serve immediately.
Recommended Kitchen Tools
We are a participant in the Amazon Services LLC Associates Program. As an Amazon Associate I earn from qualifying purchases. Check out my Amazon shop to see all of my recommended kitchen tools.
Notes
Nutrition
Nutrition information is automatically calculated and is for general information purposes only. For the most accurate information, calculate using your select brands and exact measurements.
Like this recipe?
If you made this recipe, please leave a star rating along with a comment below — it helps other readers know what they are getting into before they start. (Five stars is the best!)