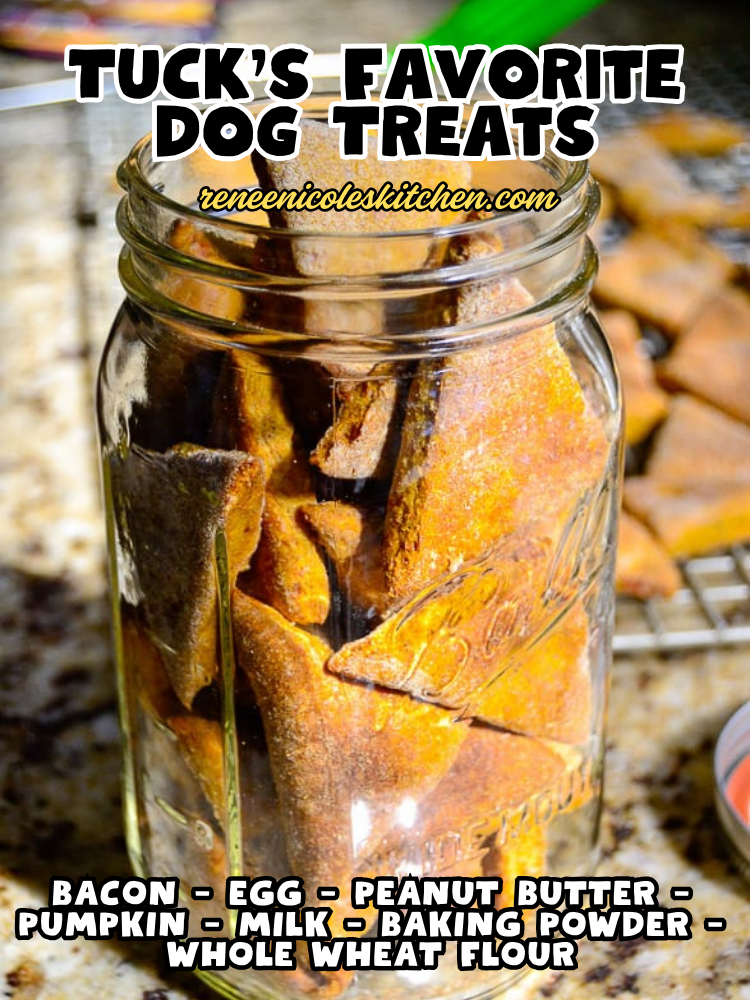
Tuck’s Favorite Dog Treats

Nothing makes a pup happier than special dog treats. These easy homemade dog treats have Tuck’s favorite ingredients: bacon, pumpkin, and peanut butter. Tuck gave these dog treats 4 paws up and asked for more.

Yesterday was Tuck’s birthday! I can hardly believe that he is already a year old. Tuck is an extra large breed dog, so the puppy phase for him should last until he is around 18 months old.
He weighed in today 87.8 lbs, so I’m hopeful that he doesn’t add too much more weight and focuses his attention on maturing. He does have his charms though. He is super cuddly, thinks he is a lap dog – yes, at nearly 90 lbs, and is everybody’s best friend. How can you resist that face?!
In celebration of his birthday, I’m sharing his favorite treats and making a double batch. These treats can be chewy or crunchy and loaded with the flavors of bacon, pumpkin, and peanut butter – a dog approved combination!

These treats come together using the biscuit method. Mix the wet together, mix the dry together then add them to each other. This dough comes out very thick and heavy, so I highly suggest using a stand mixer if you have one.
I do recommend using whole wheat flour, as it is better for a dog’s digestion system. Whole wheat flour is a grain, so if your dog is on a strict no wheat, no grain, or no gluten diet, do not feed them these treats.
The bacon pieces are mixed in with the flour, as the flour will stick to the fat and help keep the bacon suspended in the dough. If you add the bacon to the wet mixture the pieces will clump together and sink to the bottom. Trust me, I tried it. To make the wet to dry mixing easier, add the flour mixture about 1/3 at a time and scrape the sides after each addition.

To make the dough easier to work into batches, grab a knife and cut the dough ball in halves or quarters. You will notice that the inside will be slightly stickier, but that’s okay.
With a double batch, I know that 1/4 of the dough will fill one of my baking sheets. With a standard batch you should only need to cut it in half. Set aside all but one of the dough balls and work it into a ball, again adding more flour if it starts to stick.
Like most cookies, I like to use parchment paper lined baking sheets. The parchment is optional, but it allows you not to grease your baking sheet. If you choose not to use it, make sure you oil, spray, butter your pan prior to baking.

I choose not to use cookie cutters. If you do, you can easily take the leftover dough and rework it into more cookies. I prefer to use a knife and cut his treats into squares, rectangles, or triangles. This week, I chose triangles. If you are working on a surface that shouldn’t be cut into, make sure you don’t use a sharp knife and damage your countertop!
Tuck likes his dog treats to be crisp and crunchy. He told me so by spitting one out that was still soft and chewy. He had a total look of disdain on his face, but happily gobbled up the same treat after it was baked longer.
I try to get Tuck’s treats close to an 1/8 of an inch. If your dog prefers chewier treats, you can make them a bit thicker, but if you go too thick they will take forever to bake.
These dog treats will puff up slightly, but they should not spread out. However, don’t crowd them too much, as you will need room to flip them over halfway through the baking time.

For translation purposes that face is asking: “are they done yet? are they done yet? are they done yet?” He followed me around the kitchen for 10 minutes with that face before I shooed him away so that I could clean up. It’s hard to resist that face!
I try to get a full batch ready and put both baking sheets in at the same time. Be sure to rotate the baking sheets when you flip the treats over moving the top pan to the bottom and the bottom to the top.

For crispy, crunchy treats, bake them for 18 – 20 minutes on each side. For softer, chewier treats, bake them 14 – 16 minutes on each side.
Like this recipe?
If you made this recipe, please leave a star rating along with a comment below — it helps other readers know what they are getting into before they start. (Five stars is the best!)

Tuck’s Favorite Dog Treats
Ingredients
- 2 1/2 strips of cooked bacon
- 1 egg
- 1/2 cup all natural peanut butter
- 1/2 cup canned pumpkin
- 3/4 cup milk
- 1 TBSP baking powder
- 2 1/4 cups of whole wheat flour plus more for kneading
Instructions
- Heat oven to 325 degrees and line two baking sheets with parchment paper.
- In the bowl of your stand mixer, using the paddle attachment, mix together the egg, peanut butter, pumpkin, and milk.
- In a separate bowl whisk together the flour and baking powder.
- Chop up the bacon into bite sized pieces and combine with the flour mixture.
- Switch to the dough hook attachment and gradually add the flour mixture to the wet mixture. Add about 1/3 at a time, scraping down the sides and thoroughly combining.
- Place the sticky, wet dough onto a floured work surface.
- Knead the dough, adding flour as you go. Stop adding flour when the dough stop sticking to the counter and to your hands.
- Separate the dough into two sections.
- Shape the first section into a ball and then roll out flat to a thickness of 1/8 to 1/4 of an inch thick.
- Using a knife or cookie cutter, cut out the individual treats and place them on the parchment lined baking sheet, being careful not to over crowd them.
- Once you are done with the first section of dough, repeat with the second section.
- Place both cookie sheets into the oven at the same time, one on top and one on bottom. Cook 14 -16 minutes for softer chewier cookies and 18 – 20 minutes for crisper, crunchier cookies.
- Turn each cookie over and return the pans to the oven, swapping the top pan to the bottom and the bottom to the top, then cook an additional 14 -16 minutes for softer chewier cookies or 18 – 20 minutes for crisper, crunchier cookies.
- When they are done, cool completely on a cooling rack.
- Store up to two weeks in the fridge in an air tight container, or up to 6 months in the freezer.
We are a participant in the Amazon Services LLC Associates Program. As an Amazon Associate I earn from qualifying purchases. Check out my Amazon shop to see all of my recommended kitchen tools.
Nutrition
Nutrition information is automatically calculated and is for general information purposes only. For the most accurate information, calculate using your select brands and exact measurements.
I can’t count how many times I have made this recipe over the years. Our family’s dogs love them!
Hi, Christine!
That makes us so happy to hear. We love knowing this recipe has been part of your routine for years, and even more that your family’s dogs love them. Thanks for sticking with it and sharing that with us.
– Kristy
What size mason jar do you use to store these treats? Interested in giving these dog treats as xmas gifts to my pet-sitting clients
Hi Lee! I used a 1 quart wide mouth jar in the photos. If you do smaller treats you can use smaller jars, but the wide mouth 1 quart jars work really well for most sizes.
Renee
Recipe calls for baking powder, then later it’s called baking soda. Which is it? I’m in the middle of mixing it! Looks good so far.
Susan – I am so sorry about that! The listing in the ingredient list is correct, it’s baking powder, not baking soda. I’m updating the instructions now to fix it.
Just to clarify – is it 14 to 16 minutes per side or total? One spot says per side, but the instructions at the bottom just say 14 – 16 or 18 – 20.
Patty, It’s 14 – 16 minutes per side. Thank you for pointing out the discrepancy. I’ve updated the recipe instructions to better explain it.
These look terrific, the only problem is that in Spain I cannot get the canned pumpkin, could I cook and blend butternut squash to mix in do you think?
I haven’t tried it myself, but I think it would work! I’d suggest roasting it in the oven, as boiling or steaming may add too much water to the final product, and a blender or food process should take out any lumps or strings. Let me know what your pups think!
I don’t have a food processor. Do I have to use one? How would I make changes?
Robin, The recipe calls for a stand mixer, not a food processor. However, you can easily make these dog treats by hand. I actually prefer using a spoon or my hands, but I wrote the recipe for the mixer because most people find that method to be easier. No changes are really necessary. I’m going to be making more of these today and am glad to help with any other questions.
Happy birthday Tuck! He’s one very lucky dog to have such loving parents 🙂 Those treats look yummy too!
Everything homemade is always best! We know what’s in it instead of all the packaged processed food! Thanks for sharing :))
I was just looking for some different homemade treats to make for my pup. I think Sgt. Pepper would love these!
Sgt. Pepper is such a cute name! Let me know if he (she?) likes them!
I think my pup would love these! Thanks for sharing!
You are welcome! I hope your pup enjoys them if you get the chance to make them.